Though UAVs for recreational and industrial use are now widely available, few permit software or hardware modification. Specifically, DJI manufactures affordable, high performance, drones for nearly every application, but subjects their systems to geofencing, tracking, and data processing (by the CCP?) with limited developer options.
When I first became interested in drones a decade ago, building systems from scratch was common, as few vendors for complete systems existed outside of the military-industrial complex. Much has changed; for the average aerial photography enthusiast, the parts necessary to reproduce a system approaching the sensor quality, communication range, and flight duration of DJI's entry level system would cost more than DJI's product, even before consideration of the weeks of software development necessary to enable basic functionality and months of development required to build the UI and advanced features (object tracking). Fortunately, a community of hobbyists has taken this challenge to heart. Unfortunately, their code is disaggregated, often system specific, poorly documented, and relatively complex.
I am building a long-range, long-endurance system for cheap collection of geospatial data and with computational resources capable of running an occasional autonomy model. I consider the flight computer and associated electronics in this document; details of my airframe can be found elsewhere.
Most of the technical challenges associated with constructing a UAV flight computer have already been solved in other domains. Specifically the low-latency, long-distance transmission of video and telemetry data is possible via the cell networks globally present. Cheap, modern, integrated compute (including ASICs for ML and video compression); image, temperature, orientation, and GPS sensors; and cell modems are also available: cell phones. I introduce the procedure for producing a flight computer using a Raspberry Pi, an NVIDIA Jetson, and Android.
Raspberry Pi
The Raspberry Pi is a popular platform for hobbyist UAV processing and cell service integration because of its broad user base, detailed documentation, and numerous peripherals, despite its mediocre performance. And after many days sorting basic firmware problems in higher-performance, more complex systems, you too will understand its appeal. LTE UAV control services can be cheaply purchased from UAVMatrix, a formerly open source project, or, for the more intrepid, built from scratch. Mr. Egeland's documentation is comprehensive; I detail the latter approach here.
NVIDIA Jetson
The Jetson is a popular single-board computer for the development of more sophisticated robotics projects. The Jetson Nano's performance is comparable to the Pi but for its superior GPU. However, the Jetson line also includes a number of industrial-grade, more powerful computing modules, so support for more advanced libraries is available and the friction to transition to hardware for heavier models or commercial applications is reduced. Documentation for simpler procedures is limited as compared to the Pi.
Android
A smartphone contains the systems required for an LTE UAV, but requires programs to be containerized as apps written in Java or Kotlin. Additionally learning app development for the purpose of producing a flight computer is tedious, but the plurality of examples and native optimizations available to Android developers makes the task likely worthwhile.
Though a transition to ROS is unavoidable for serious commercial or military applications, much infrastructure has been produced on Mavlink, a messaging protocol designed specifically for UAV applications. Notably, Mission Planner (feature dense) and QGroundControl (more aesthetic), open-source predeveloped ground control software are available for Mavlink platforms. Mavlink is not secure.
Raspberry Pi and NVIDIA Jetson Setup
(Raspberry Pi Specific)
Setup for the Raspberry Pi is available here or on any number of blogs.
A few tips:
To find RPI on network:
nmap -sn MY.IP.ADDRESS.0/24To connect via ethernet: PUTTY.
If desired, enable VNC.
Bluetooth must be disabled for RPI communication:
sudo nano /boot/config.txt:
enable_uart=1
dtoverlay=disable-bt
exit and then
sudo restart
Connecting the modem is a process of some frustration. For my modem, wvdial eventually yielded intermittent coverage.
Wvdial is configured like so:
sudo apt-get wvdial
sudo wvdialconf
sudo wvdial
If this fails (as it invariably will) try reconfiguring the data in the configuration file to match your device parameters. Matching device parameters can be achieved by much time on Google.
My file, for example, is:
sudo nano /etc/wvdial.conf
[Dialer Defaults]
Init1 = ATZ
Init2 = ATQ0 V1 E1 S0=0 &C1 &D2 +FCLASS=0
Init3 = AT+CGDCONT=1,"IP","h2g2"
Modem Type = Analog Modem
Baud = 460800
New PPPD = yes
Modem = /dev/ttyUSB0
ISDN = 0
Phone = *99#
Password = { }
Username = { }
Stupid Mode = 1
If wvdial fails, fear not. Alternative strategies include:
Modeswitch
Find the device:
lsusb |grep HuaweiPull the id: 12d1:1506
Change the configuration file:
cd /etc/usb_modeswitch.d/
sudo tar -xzvf /usr/share/usb_modeswitch/configPack.tar.gz "12d1:1446"
sudo nano /etc/usb_modeswitch.d/12d1:1446
Change to:
DefaultVendor=0x12d1
DefaultProduct=0x1506
Huawei, newer modems, and rebrandings:
TargetVendor=0x12d1
TargetProductList="1001,1404,1406,140b,140c,1412,1417,141b,1429,1432,1433,1436,14ac,1506,150c,1511"
HuaweiNewMode=1
This resulted in nothing for me, but the more astute among you might realize a connection with similar code.
NDISDUP
Try:
sudo apt-get install screen
screen /dev/ttyUSB0
Test by typing "AT" (without quotes) and pressing enter. It should reply "OK". To kill, use:
ctrl-a k y(Raspberry Pi/NVIDIA Jetson)
The Jetson's setup is similar, and is detailed here.
Install VNC, if desired.
To modify the VNC quality, depending on network strength:
vncserver -depth 24 -geometry 1920x1080 :1Or:
vncserver -depth 8 -geometry 800x600 :1I experienced some random bootloader errors.
The modem can be set up using the network manager.
To increase power to modem:
sudo nano /boot/config.txt
max_usb_current=1
Install libraries:
sudo apt-get update
sudo apt-get upgrade
sudo apt install python-pip python-dev screen wxgtk libxml libxslt net-tools
sudo pip install future pyserial dronekit MAVProxy
Connect to ground control software
Connect by finding serial port of the Pixhawk:
dmesg | grep ttyIf on Raspberry Pi and connected via GPIO, likely:
/dev/ttyAMA0If on Jetson and connected via GPIO, likely:
/dev/ttyTHS1If on Jetson and connected via USB, likely:
/dev/ttyACM0To begin streaming over wifi, start the mavproxy script with your computer's IP and port:
mavproxy.py --master=/dev/XXXX --out MY.IP.ADD.RESS:PORTAdding the port as an input stream on QGroundControl or Missionplanner should start GPS/Telemetry data stream. Moreover, the stream is bidirectional—configuring a joystick (game controller) in either ground control program allows live manual control of the aircraft via wifi.
Configuring communication over cell service is similar. The modem, connected to the web via a cell network, behind the routers of the cell provider, exhibits no public IP address. It can, however, connect with devices on exterior networks with public IPs, like that of your home router. To protect you from attacks, your router rejects unsolicited traffic. To allow reception of telemetry or video data, you must open a port on your router. Sign into your router, find port forwarding in the menu, and open an arbitrary port, 5001, for example, to TCP/UDP. On any device on your network, visit this site and record your public IP address. Then again configure your ground control software to receive information from this port. This configuration is not robust to disconnections or system restarts, but can be made to restart upon either with simple shell scripts.
However, you likely desire access to terminal. Though the modem exhibits no public IP address into which one might SSH, it can initiate SSH to devices that do have public IP addresses, like your ground control station. Once such an SSH is established, the ground control station can SSH back into the device on the mobile network: reverse SSH. To implement reverse SSH, install openSSH on your ground control station:
sudo apt-get install openssh-server
sudo service ssh start
We will use RSA authentication to ensure that malicious actors can not easily hijack your SSH link. Generate SSH keys on both machines and copy the public key of each into the other. On the ground control station, run:
ssh-keygen -t rsa
cd .ssh
cat id_rsa.pub
Copy the displayed public key to the flight computer. Check if you already have a .ssh directory:
ls -alIf you see the .ssh directory, enter it:
cd .sshOtherwise create such a directory:
mkdir .sshThen create a properly named file for the public key you copied earlier:
sudo vi authorized_keysand paste public key from before. Then save (:wq) and restart SSH:
sudo service ssh restartThen do in reverse: on RPI:
ssh-keygen -t rsa
cd .ssh
cat id_rsa.pub
Copy the public key to the other machine:
cd .ssh
sudo vi authorized_keys
Paste the public key from before, save (:wq), and restart SSH:
sudo service ssh restartChange the SSH port on your ground control station to one without preexisting traffic, 6000 for example:
sudo vi /etc/ssh/sshd_configChange "Port" to 6000, save the document, and restart SSH:
sudo service ssh restartAdd another port forwarding on router, 3333, for example, as before. To start reverse SSH, on the flight computer run:
ssh -f -N -T -R 3333:localhost:22 Me@MY.IP.ADD.RESS -p 6000and from the ground control station run:
ssh Me@localhost -p 3333in which:
- 3333 is the port used to remote in on the ground control station
- 22 is the ssh port on the flight computer
- 6000 is the ssh port on the ground control station
- Me is the username on the ground control station
- MY.IP.ADD.RESS is the home router address
If command is fast, it has been successful, and you should have terminal control. This SSH protocol does not automatically reestablish itself if either computer disconnects, but can be automatically reestablished.
Camera
After you connect a camera with video out to your flight computer, you can transmit its feed to your ground control system using gstreamer. Sample commands abound on the web and may be specific to your camera. I use:
gst-launch-1.0 -v v4l2src device=/dev/video0 ! "image/jpeg,width=1280, height=720,framerate=30/1" ! rtpjpegpay ! udpsink host=MY.IP.ADD.RESS port=5001Make sure your port, above, matches a port open on your router and the port your ground control software is expecting a UDP video stream. Video configuration is covered well in the documentation of QGroundControl and Mission Planner.
Android Setup
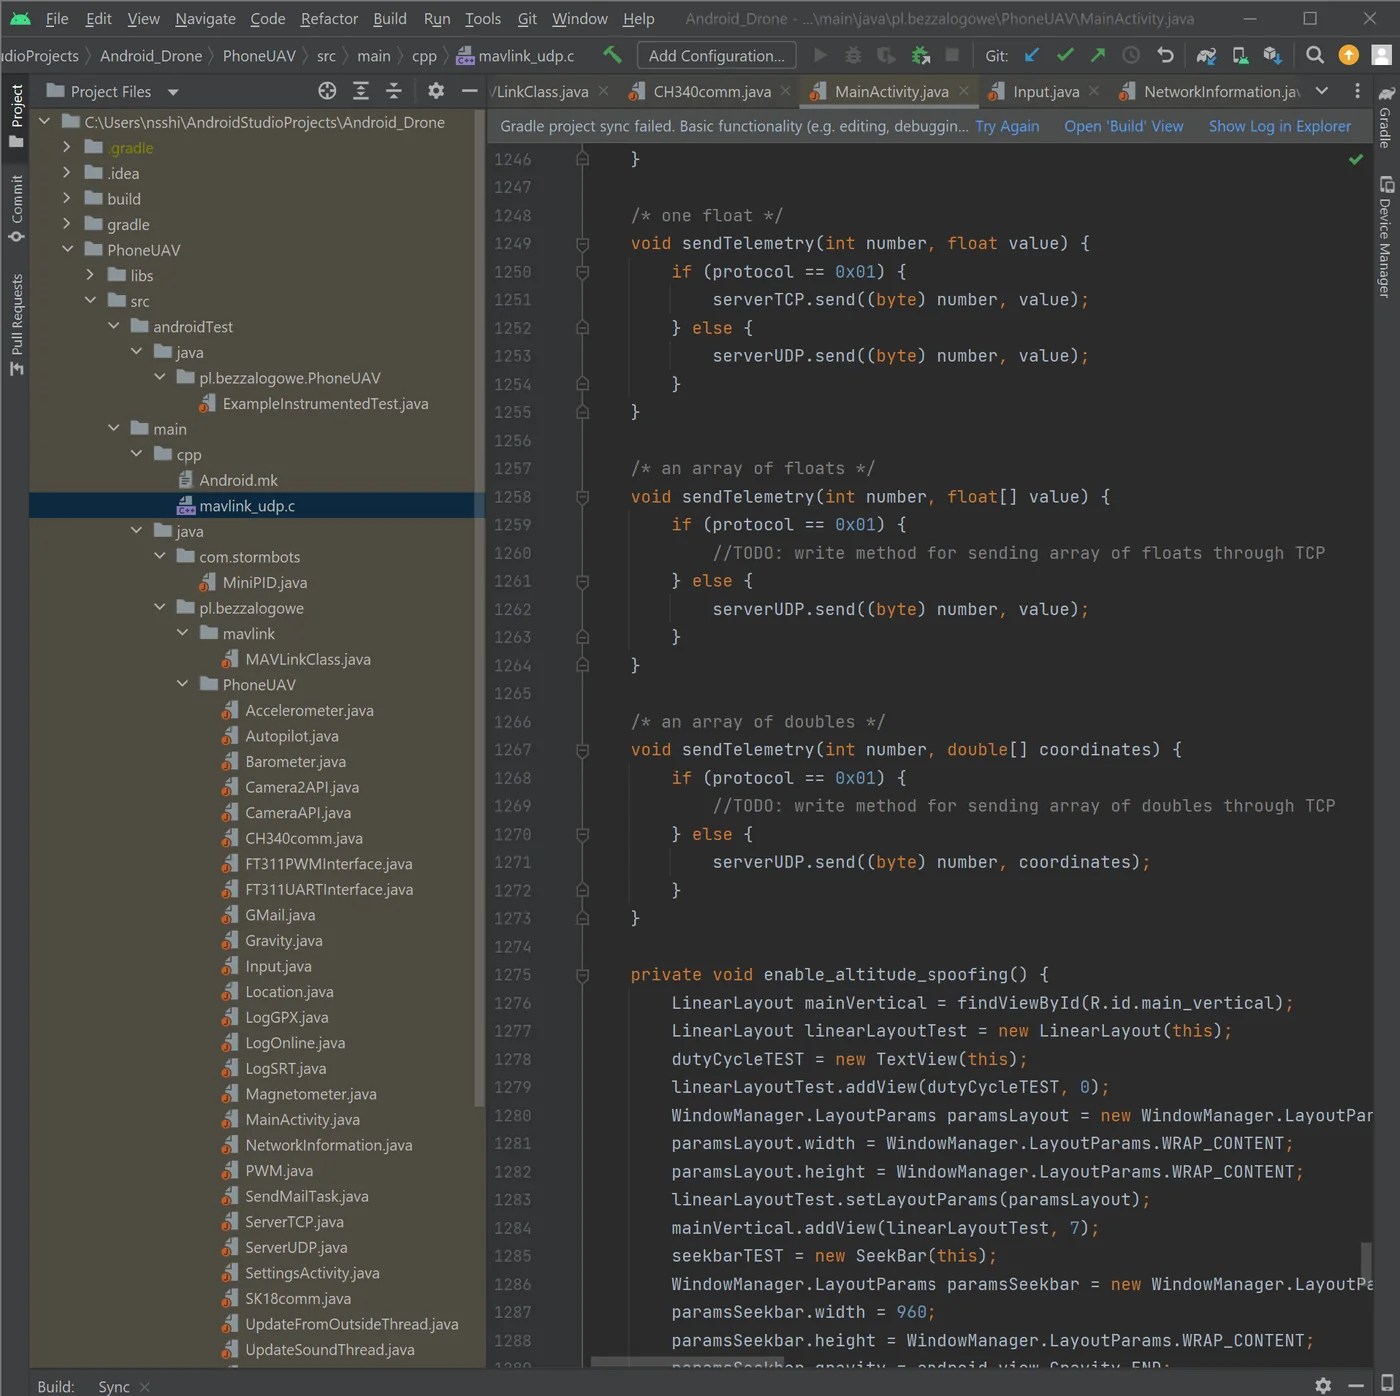
Finding Marek Suma's code took me years. Altering it to communicate via LTE/port forwarding was far easier. I will not post such modifications at present, as the possibilities of this project for a malicious actor were concerning even before lowering the barrier of entry to anyone capable of buying a smartphone and USB-C servo controller.
See my hardware post for details on physical implementation.